Raspberry Crumb Cake Recipe | Classic Grated Pie with Juicy Raspberry Filling
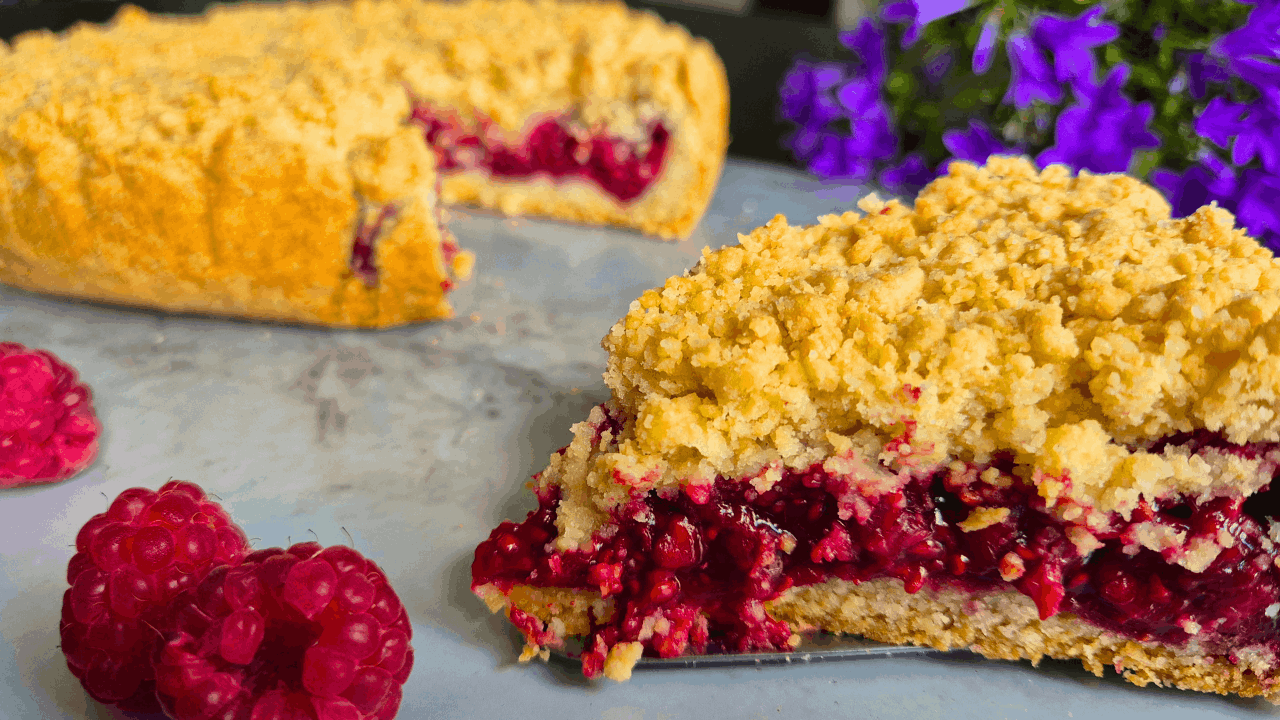
If you’re looking for a simple homemade dessert with a nostalgic flavor, this Raspberry Crumb Cake is a perfect choice. Known in many kitchens as a grated pie, this cake features a tender buttery crumb, a thick raspberry filling, and a beautifully golden crust.
The recipe uses basic pantry ingredients, yet the result tastes incredibly comforting and bakery-worthy. The sweet crumb topping paired with the slightly tart raspberry layer creates a wonderful balance of flavors.
This cake is perfect for family tea time, holidays, or weekend baking, and it stores well for several days.
🛒 Ingredients
For the Dough:
➤ 3 ¼ cups (14.1 oz / 400 g) all-purpose flour
➤ ¾ cup (5.3 oz / 150 g) sugar
➤ 1 stick (4.2 oz / 120 g) cold butter
➤ 2 eggs
➤ 1 ½ teaspoons baking powder
For the Raspberry Filling:
➤ 1 lb (500 g) raspberries (fresh or frozen)
➤ 4 tablespoons sugar
➤ 2 tablespoons cornstarch
🥣 Equipment
➤ Medium saucepan
➤ Mixing bowl
➤ Baking pan
➤ Parchment paper
➤ Spoon or spatula
👩🍳 Instructions
1. Prepare the Raspberry Filling
Start with the filling so it has time to cool while you prepare the dough.
➤ Place the raspberries in a saucepan. You can use fresh or frozen berries — both work perfectly.
👉 If using frozen raspberries, do not thaw them first.
➤ Add 4 tablespoons sugar and 2 tablespoons cornstarch.
➤ Stir gently to combine.
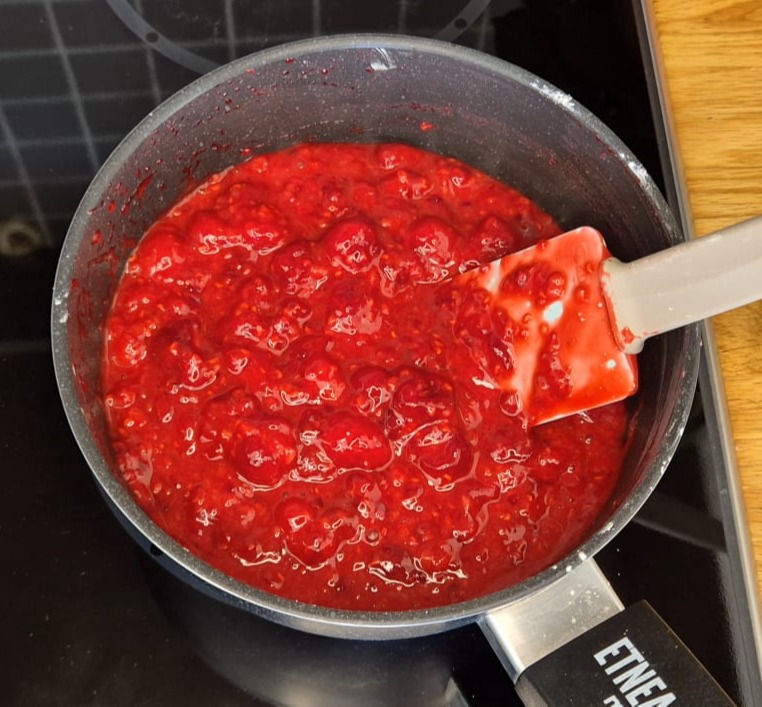
➤ Place the saucepan over medium heat and cook while stirring constantly. As the berries heat up, they will release juice and the mixture will begin to thicken.
➤ Bring the mixture just to a boil. As soon as you see the first bubbles and the filling becomes glossy and thick, remove it from the heat.
➤ Set it aside to cool slightly.
💡Pro Tip:
Cornstarch is essential here. It thickens the filling so it stays inside the cake instead of leaking during baking.
2. Prepare the Crumb Dough
➤ In a large bowl, sift together 3 ¼ cups of all-purpose flour and 1 ½ of teaspoons baking powder
➤ Add ¾ cup of sugar.
➤ Mix the dry ingredients well.
➤ Crack 2 eggs into the bowl and mix again until the eggs are distributed.
➤ Now add the key ingredient: cold butter.
Cut or crumble 1 stick (120 g) chilled butter into the mixture.
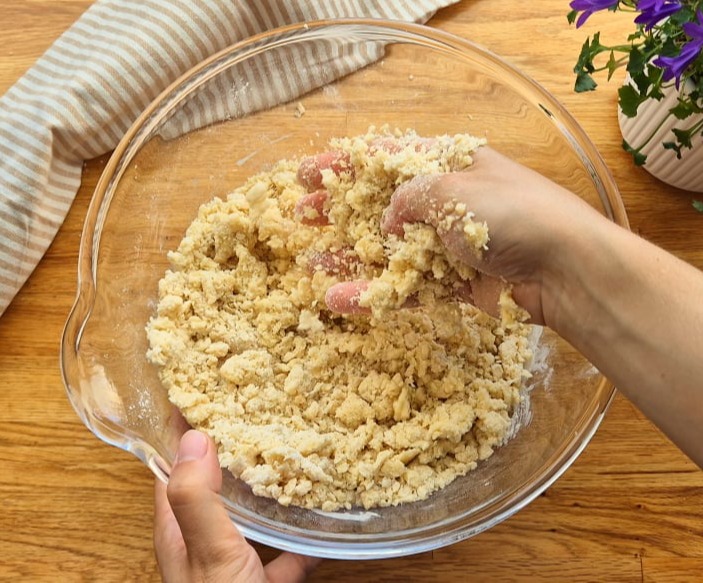
➤ Using your hands, rub the mixture between your fingers until it forms fine crumbs.
💡Success Secret:
The butter must be cold, not soft. This is what creates the classic crumbly grated texture.
3. Form the Cake Base
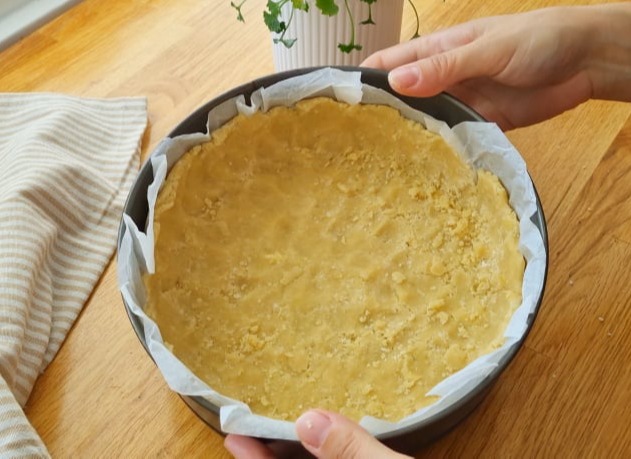
➤ Line a baking pan with parchment paper. This makes it easy to remove the cake later.
➤ Take half of the crumb mixture and sprinkle it evenly into the pan.
➤ Using your hands or the bottom of a glass, gently press the crumbs down to form a base. Slightly raise the edges along the sides.
💡Tip:
The raised edges help hold the juicy filling inside the cake.
4. Add the Raspberry Filling
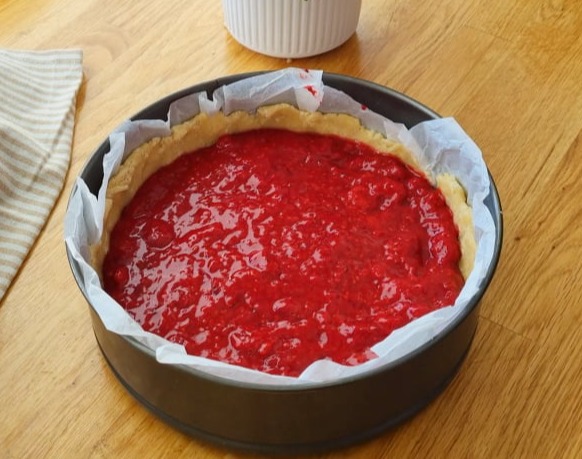
➤ Spoon the slightly cooled raspberry filling onto the dough base.
➤ Spread it evenly across the surface. At this stage, the filling should look thick, glossy, and vibrant.
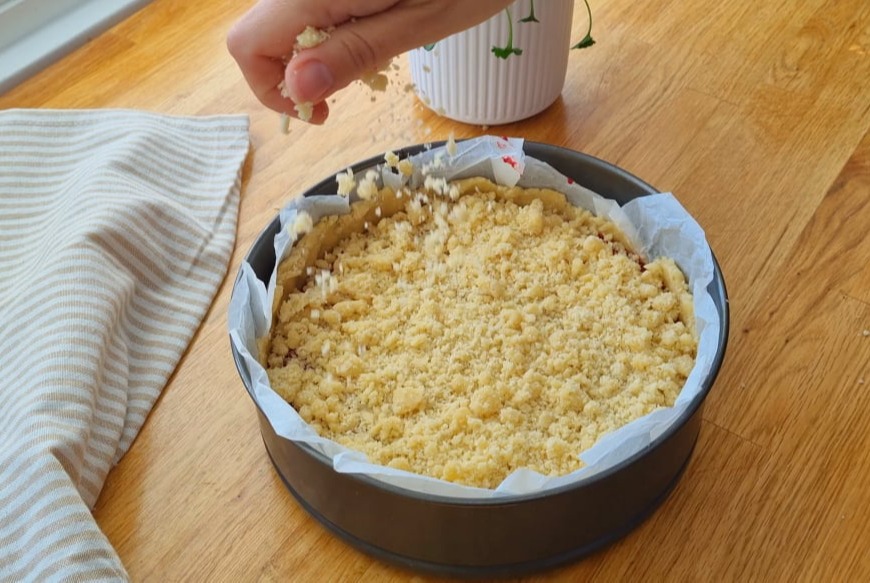
5. Add the Crumb Topping
➤ Take the remaining crumb dough and sprinkle it evenly over the raspberry layer.
💡 Do not press it down — the loose crumbs will bake into a beautiful golden crust.
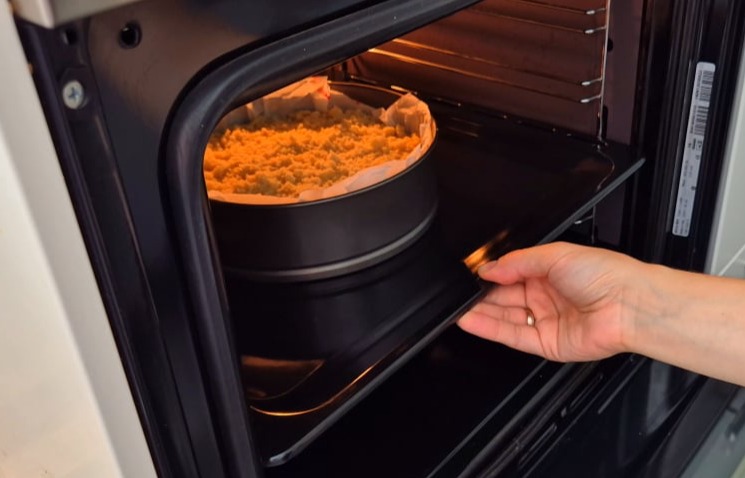
6. Bake the Cake
➤ Preheat the oven to 350°F (180°C)
➤ Bake the cake for 40–50 minutes, or until the top becomes golden brown and aromatic.
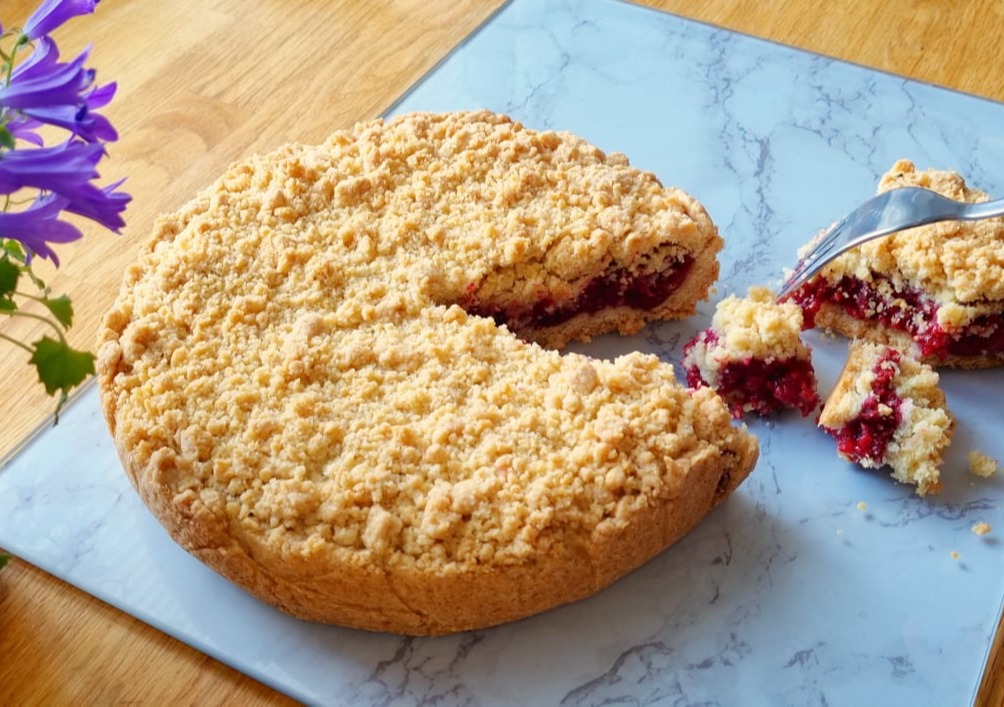
7. Cool and Slice
➤ Once baked, remove the cake from the oven and allow it to cool in the pan.
👉 This step is important because the filling will set further as it cools, making the cake easier to slice.
➤ After cooling slightly, lift the cake out using the parchment paper and cut into squares.
This Raspberry Crumb Cake is a true home-baking classic — simple, comforting, and incredibly delicious. The buttery crumb combined with the juicy raspberry filling makes every bite irresistible.
Whether you’re baking for your family, guests, or just a cozy afternoon treat, this recipe is guaranteed to become a favorite.
Happy baking! 🍰

AI Website Generator