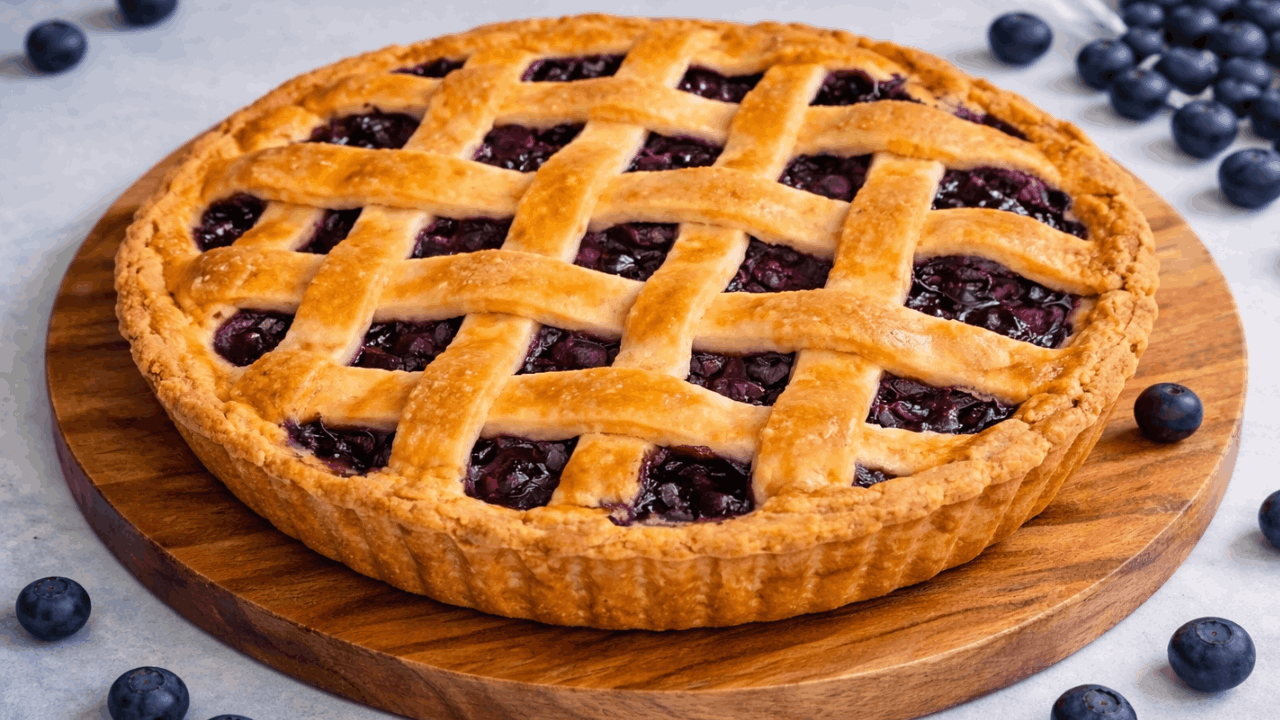
Classic Homemade Blueberry Pie Recipe
There’s nothing more comforting than a classic homemade blueberry pie—golden, flaky crust on the outside and a juicy, perfectly thickened berry filling inside. This detailed recipe will guide you step by step, even if you’re a beginner, and help you achieve bakery-quality results at home.
🫐 Ingredients
For the Dough (Pie Crust):
➤ 2 ⅓ cups (10.5 oz / 300 g) all-purpose flour
➤ A pinch of salt
➤ ½ cup (3.5 oz / 100 g) sugar
➤ 5.3 oz (150 g) cold butter, cubed
➤ 1 egg
➤ 1–2 tablespoons ice-cold water
For the Blueberry Filling:
➤ 14 oz (400 g) blueberries (fresh or frozen)
➤ 1 tablespoon lemon juice
➤ ½ cup (3.5 oz / 100 g) sugar
➤ A pinch of salt
➤ 3 tablespoons cornstarch
For Finishing:
➤ 1 egg (for egg wash)
➤ 1 tablespoon sugar (for sprinkling)
👩🍳 Instructions
1. Prepare the Dough
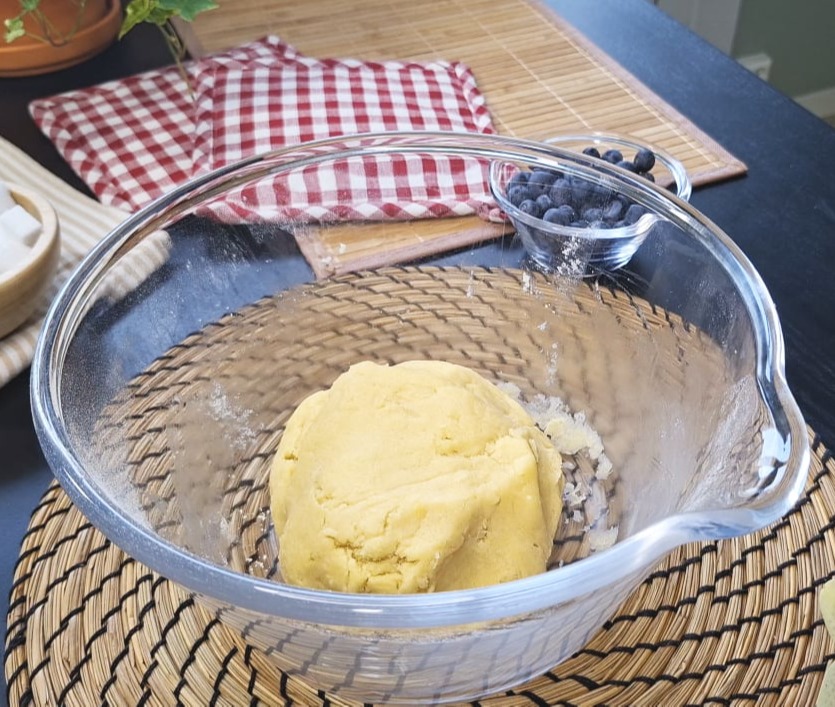
➤ Start by sifting the flour into a large bowl.
➤ Add a pinch of salt and ½ cup of sugar, then whisk everything together.
💡Tip: Mixing dry ingredients first ensures even flavor distribution—this small step makes a big difference.
➤ Add the cold butter cubes straight from the fridge.
➤ Using your fingers, rub the butter into the flour until the mixture resembles coarse crumbs (like wet sand).
💡 Important: Don’t overwork the dough. Warm hands can melt the butter, and that will ruin the flaky texture.
➤ Add the egg and gently mix.
➤ Then add 1 tablespoon of ice-cold water. If needed, add one more tablespoon until the dough comes together.
➤ Form into a ball quickly— no heavy kneading.
2. Chill the Dough
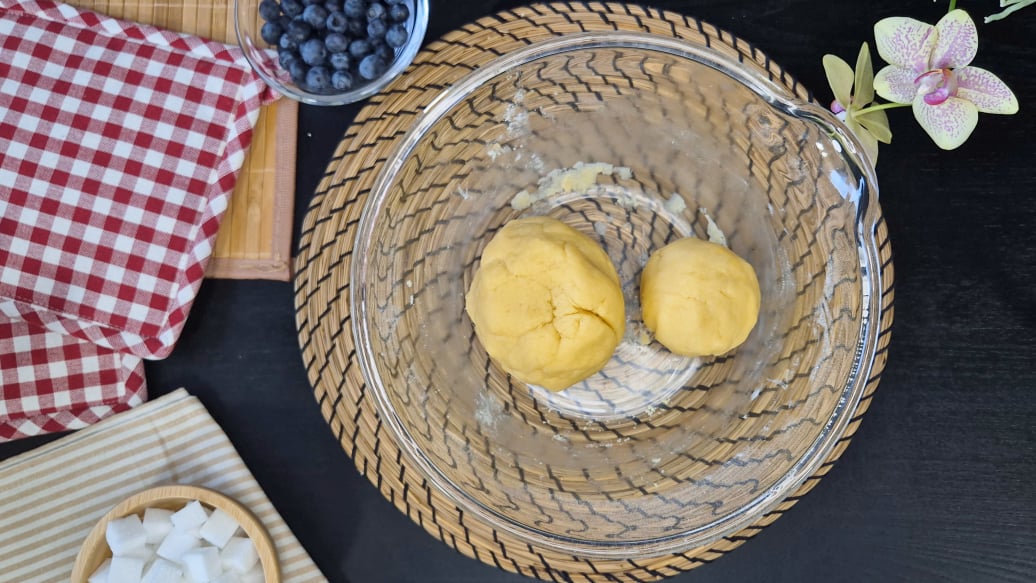
➤ Divide the dough into two parts:
⅔ for the base
⅓ for the lattice top
➤ Roll each part into a ball, wrap them in plastic wrap, and refrigerate for 40–60 minutes.
💡Pro Tip:
Chilling relaxes the gluten and firms up the butter, making the dough easier to roll and preventing shrinkage.
3. Roll Out the Base
➤ Roll the larger portion into a circle slightly bigger than your pie dish. This recipe is designed for a 8 to 9-inch (20–23 cm) pie pan.
➤ Transfer it into the pan and gently press it along the bottom and sides. Trim excess dough.
💡Tip:
Save scraps—you can use them for decorations or bake them into simple crunchy cookies.
4. Make the Filling
➤ Pour the blueberries into a bowl.
➤ Add 1 tablespoon of lemon juice to the berries. It enhances the blueberry flavor and helps the filling thicken.
➤ Give them a quick toss and set them aside for a moment.
💡 Tip: If using frozen berries, do NOT thaw them—this keeps the filling from becoming watery.
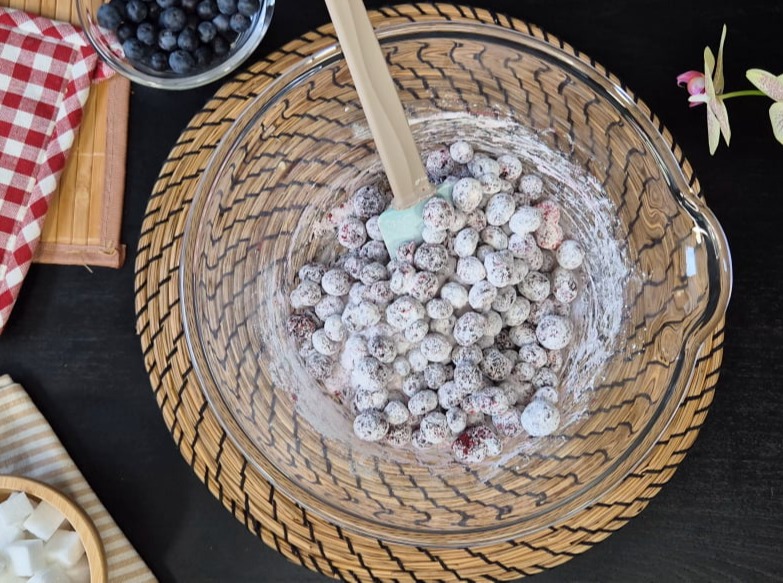
➤ In a separate bowl, mix sugar, salt, and cornstarch.
➤ Add the blueberries and gently toss until evenly coated.
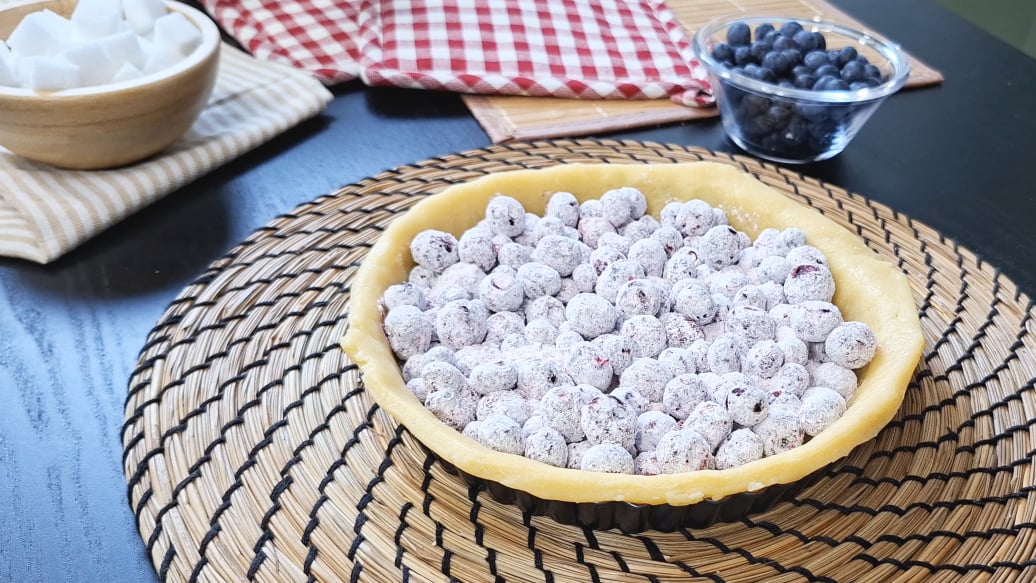
5. Assemble the Pie
➤ Transfer the prepared filling into the dough-lined pan. Fill it to about 80–90% capacity, not all the way to the top. The blueberries will bubble and rise quite a bit while baking.
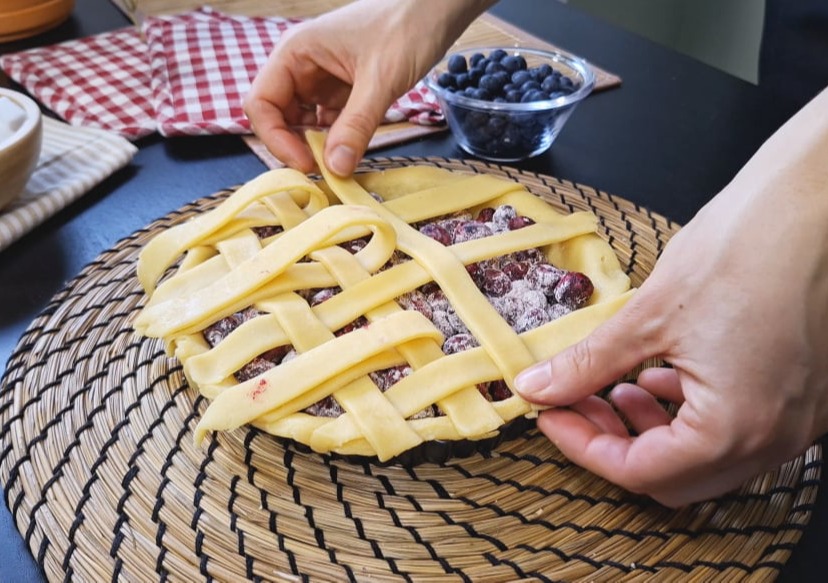
6. Create the Lattice Top
➤ Roll out the second piece of dough to about 1/8 inch (2–3 mm) thick.
➤ Cut strips about 3/4 inch (2 cm) wide. You’ll need about 10–12 strips in total.
💡 Kitchen Hack: The strips are easiest to cut with a pizza cutter
➤ Lay half the strips parallel across the pie. Fold every second strip halfway back, place a perpendicular strip, then unfold. Repeat to create a woven pattern.
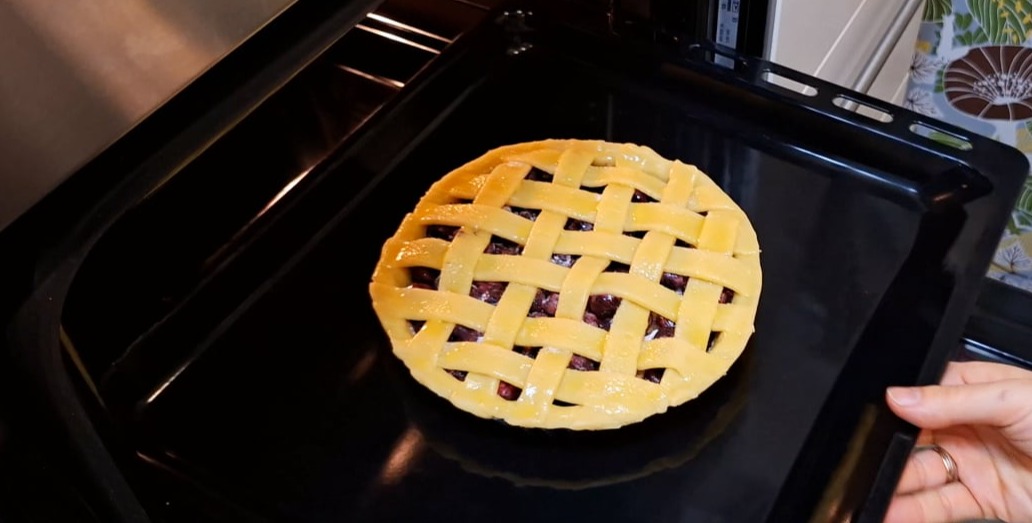
7. Finish the Pie
➤ Trim excess dough and seal the edges.
➤ Brush with beaten egg and sprinkle sugar on top.
💡Tip:
The sugar adds a beautiful sparkle and slight crunch after baking.
8. Bake
➤ Bake in a preheated oven at 350°F (180°C) for 45–55 minutes, until golden brown.
➤ Let the pie cool for at least 2 hours.
💡 Very Important:
Cutting too early will cause the filling to run. Cooling allows it to set into a perfect jam-like textur
This blueberry pie is the perfect combination of simplicity and elegance. With its flaky crust, juicy filling, and beautiful lattice top, it’s guaranteed to impress your family and guests every time.
If you try this recipe, feel free to share your results and variations—you might prefer a full crust instead of a lattice, and that’s just as delicious!

Drag & Drop Website Builder